
Limber de Coco (Puerto Rican Coconut Ice Cups)

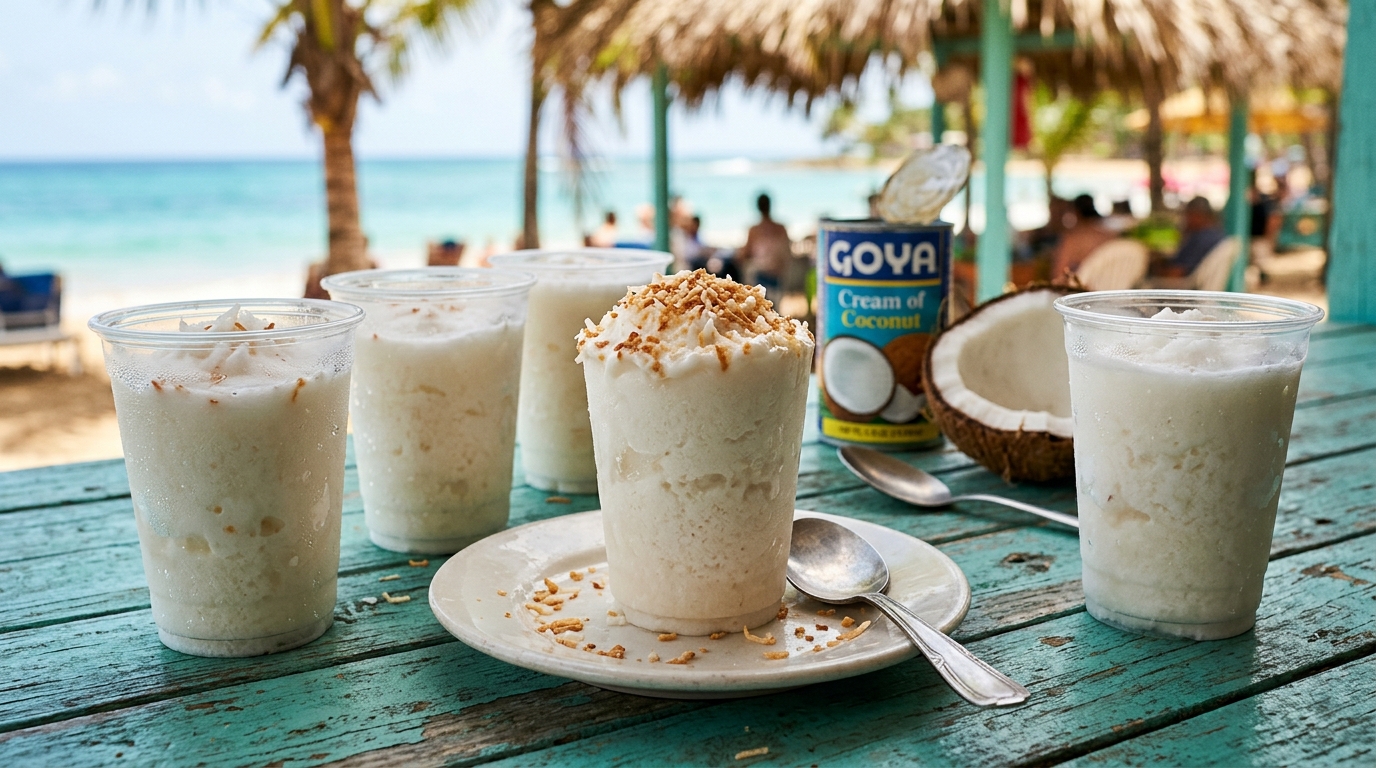
I spent my childhood summers in Aguadilla, and no sound takes me back faster than a plastic spoon scraping the bottom of a cup of limber de coco. In Puerto Rico this is the homemade frozen treat — no ice cream maker, no churning, no eggs. Coconut milk, a little patience and a freezer. My grandmother made it every Sunday with the cream of coconut left over from arroz con dulce, and what I learned from her is that the secret isn't a complicated recipe; it's using the right combination of coconuts.
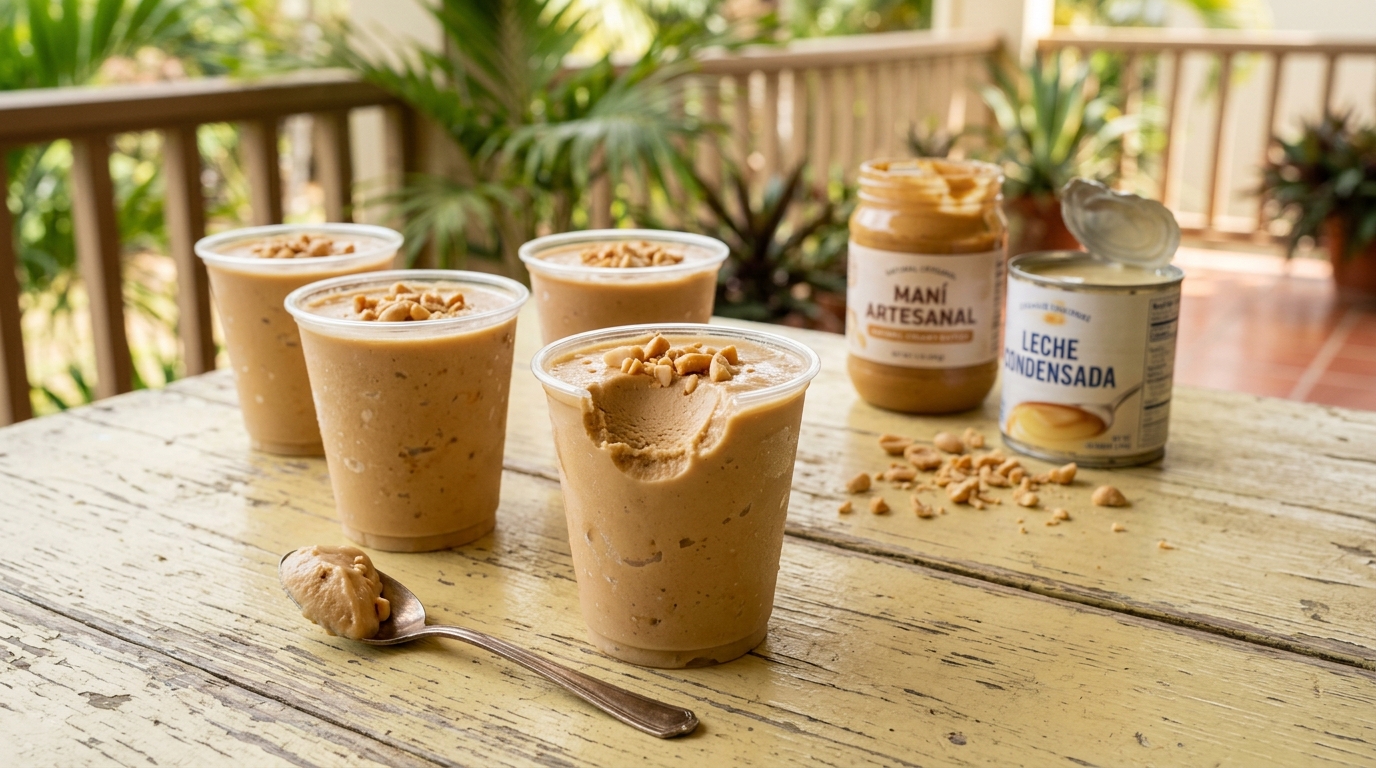
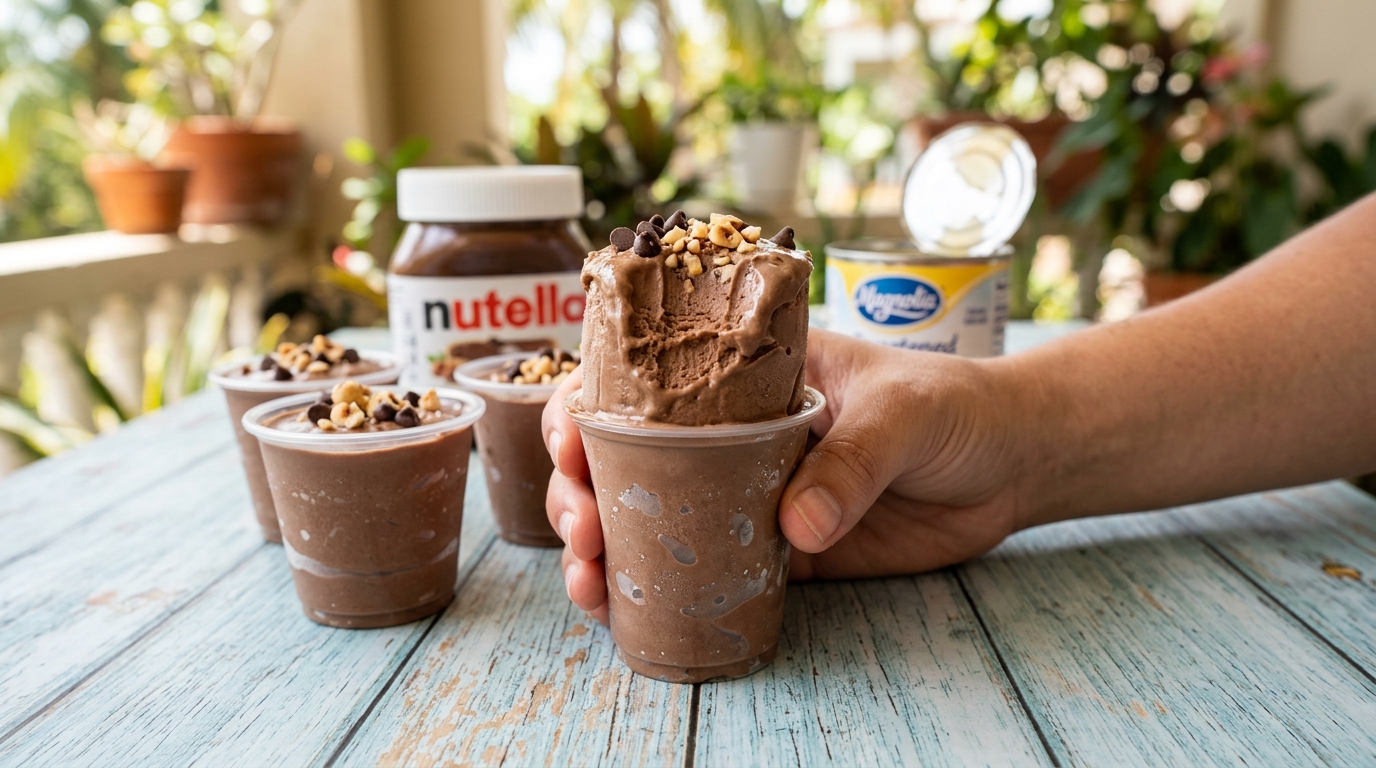
This is the coconut limber written for a US kitchen: the cans you'll actually find at Walmart, Publix or a Latin market, cups and ounces, and the one mistake that turns a creamy limber into a granular ice block. It's the original of the family — the best-seller at the beach kiosks from Luquillo to Rincón — and once you have this base, the Nutella limber and the peanut limber are just a change of flavor.
What is limber de coco?
A limber is a Puerto Rican frozen dessert sold in small plastic cups and eaten straight from the cup: you push it up from the bottom, bite, repeat. No stick, no spoon (unless you're a kid scraping the last bit). It sits somewhere between a sorbet and an Italian ice — denser than a popsicle because the mixture freezes still, without any air churned in. The tradition goes back to the 1920s, when street vendors started freezing flavored juices and milks in disposable cups; the name is said to come from Charles Lindbergh, who was served one on his 1928 visit and whose surname the locals pronounced "limber."
Coconut is the classic flavor — on the island it's the one people mean when they just say "limber" — and it's also the one that most often comes out wrong at home, because coconut products vary wildly in fat and sugar. That's what the next section fixes.
The three coconuts (and why the fat matters)
A creamy limber needs fat and sugar: fat keeps ice crystals small, sugar keeps the mix from freezing rock-hard. So this recipe layers three coconut products that each do one job:
- Canned coconut milk (unsweetened, full-fat) — the body and the clean coconut flavor. Goya, Thai Kitchen, Chaokoh and the Trader Joe's can all work; not "lite" and not the cartons from the refrigerated aisle, which are mostly water.
- Cream of coconut (sweetened) — the same can you'd use for a piña colada: Coco López is the Puerto Rican standard, Goya makes one too. It brings the sugar and a lot of the richness. Don't confuse it with coconut cream (unsweetened) — different product, and your limber will be bland and icy.
- Toasted shredded coconut — texture and a deeper, nuttier flavor. Unsweetened flakes, toasted in a dry skillet. Optional, but it's what makes people ask what's in it.
A cup of evaporated milk rounds it out and softens the coconut edge. Most US recipes reach for sweetened condensed milk here; I find that makes it cloying on top of the cream of coconut, and the texture is already creamy enough without it.
More recipes like this
Limber de Coco (Puerto Rican Coconut Ice Cups)
Creamy limber de coco the way the beach kiosks make it: coconut milk, cream of coconut and toasted coconut, frozen in cups. No ice cream maker, 15 minutes of work, and it never turns into a block of ice.
Ingredients
Instructions
- Toast the coconut (optional): spread the shredded coconut in a dry skillet over medium heat and stir constantly for 3–4 minutes until golden and fragrant. Tip it onto a plate to cool — it keeps browning in the hot pan.
- Shake the cans: shake the coconut milk and the cream of coconut hard before opening so the cream and liquid are recombined. If they're cold and solid, stand the cans in warm water for a few minutes first.
- Blend: pour the coconut milk, cream of coconut, evaporated milk, vanilla, cinnamon and salt into a blender and blend 45–60 seconds on medium until completely smooth with no flecks of coconut fat.
- Fold in the toasted coconut with a spoon — don't blend it — so it keeps some texture.
- Fill the cups: pour into eight 8-oz plastic cups (or about twenty 3-oz cups), filling each three-quarters full to leave room for expansion.
- Freeze: press a square of plastic wrap onto the surface of each cup to prevent ice crystals, stand them upright on a tray and freeze at least 8 hours — overnight is ideal.
- Serve: let a cup sit 2–3 minutes at room temperature, then push up from the bottom so the limber slides out, or run the cup under warm water for a few seconds if it's stuck. Store the rest, covered, up to 3 weeks.
Other recipes to try
Tips
Tips from my kitchen
- Never use coconut water. The most common mistake — and the one that ruins most homemade coconut limbers — is grabbing coconut water or "lite" coconut milk to make it healthier. Without fat it freezes into a hard, grainy block. You need the full-fat coconut milk and the cream of coconut.
- Toast the coconut. The first time I made it with raw shredded coconut the flavor was flat. 3–4 minutes in a dry skillet until golden changes everything, for a step that costs you five minutes.
- Shake the cans hard before opening. Canned coconut milk separates — solid cream on top, water below — and cream of coconut settles too. If the cans are cold, stand them in warm water for a few minutes. Unmixed cans give you a limber with icy and fatty layers.
- Blend, then fold. Blend the liquids until completely smooth, then stir the toasted coconut in by hand so it keeps some texture instead of disappearing into the base.
- Fill cups ¾ full — the mix expands a little as it freezes and a full cup cracks when you push the limber out.
- Press plastic wrap onto the surface before freezing. It stops the frosty ice-crystal layer from forming on top, which is the part people always complain about.
- Give it 8 hours. Overnight is best. The center of a coconut limber stays soft for a surprisingly long time because of all that sugar.
- Cup size: 8-oz cups are the beach-kiosk size and what I use here (8 servings); the small 3-oz "bathroom" cups make about 20 kid-sized limbers and freeze in 5–6 hours. Both are right.
Variations
- Limber de coco y piña: replace the evaporated milk with 1 cup of pineapple juice — it's a frozen piña colada you eat from a cup.
- Coconut-lime: the zest of 1 lime in the blender plus 1 tablespoon of juice. Bright, very good on a hot day.
- Cinnamon-heavy: double the cinnamon and add a pinch of nutmeg for the arroz con dulce version my grandmother made.
- Dairy-free: swap the evaporated milk for an extra ½ cup of coconut milk. Check your cream of coconut label — Coco López is dairy-free; some store brands add milk solids.
- Less sweet: use ¾ of the can of cream of coconut and make up the difference with coconut milk. It freezes slightly firmer but it's still creamy.
Nutrition facts
Per serving
makes 8| Calories | 280 | |
| Protein | 3g | |
| Carbohydrates | 28g | |
| Fat | 18g | |
| Fiber | 1g | |
| Sodium | 60mg |
Keywords: limber de coco recipe, limber de coco, coconut limber, puerto rican coconut limber, limber recipe, puerto rican coconut ice, how to make limber de coco
Did you make this recipe?Rate it and tell me how it turned out in the comments.
How to serve a limber
From the cup, standing up, ideally somewhere hot. Squeeze the bottom so the limber slides up and bite. If you want it to look like dessert, let the cup sit 2–3 minutes at room temperature, push the limber out whole onto a small plate and scatter more toasted coconut over it. For a party, keep the cups on a tray of ice. And if you're building a Puerto Rican freezer, the Nutella limber next to this one gives everyone a rich-or-refreshing choice — they use the same cups and the same method. Every English recipe on the site is on the recipes in English page.
Frequently asked questions
What is limber de coco made of?
Coconut milk, cream of coconut (the sweetened kind, like Coco López), a little evaporated milk, vanilla and cinnamon, plus toasted shredded coconut if you want texture. It's blended, poured into plastic cups and frozen — no machine.
What's the difference between a limber and coconut ice cream?
A limber has no eggs and isn't churned: the liquid goes straight into the cup and freezes still, so there's no air in it. That makes it denser than ice cream and smoother than a shaved ice — somewhere between a sorbet and an Italian ice.
Why did my limber de coco come out icy?
Not enough fat: coconut water, lite coconut milk, or unsweetened coconut cream instead of sweetened cream of coconut. Use full-fat canned coconut milk plus Coco López or Goya cream of coconut and it will be creamy every time. Unmixed cans (cream on top, water below) cause icy layers too — shake them.
Can I make it with sweetened condensed milk?
Yes — many families do, one 14-oz can in place of the cream of coconut and the evaporated milk. It's sweeter and more milky, less coconutty. The three-coconut version here tastes more like the kiosk limber.
How long does limber de coco last in the freezer?
About 3 weeks covered before the top gets frosty; a month if you're not fussy. Keep the cups in a zip-top bag so they don't pick up freezer odors.
Can I freeze it in popsicle molds instead of cups?
Absolutely — same mixture, same timing. Cups are traditional and easier to store; molds are nicer for a party.
One last thing
If you only learn one limber, make it this one — it's the flavor that built the tradition, and the hardest part is waiting overnight. Leave a rating below if you make it, and tell me which cream of coconut you found near you; I keep a running list.
0 comments